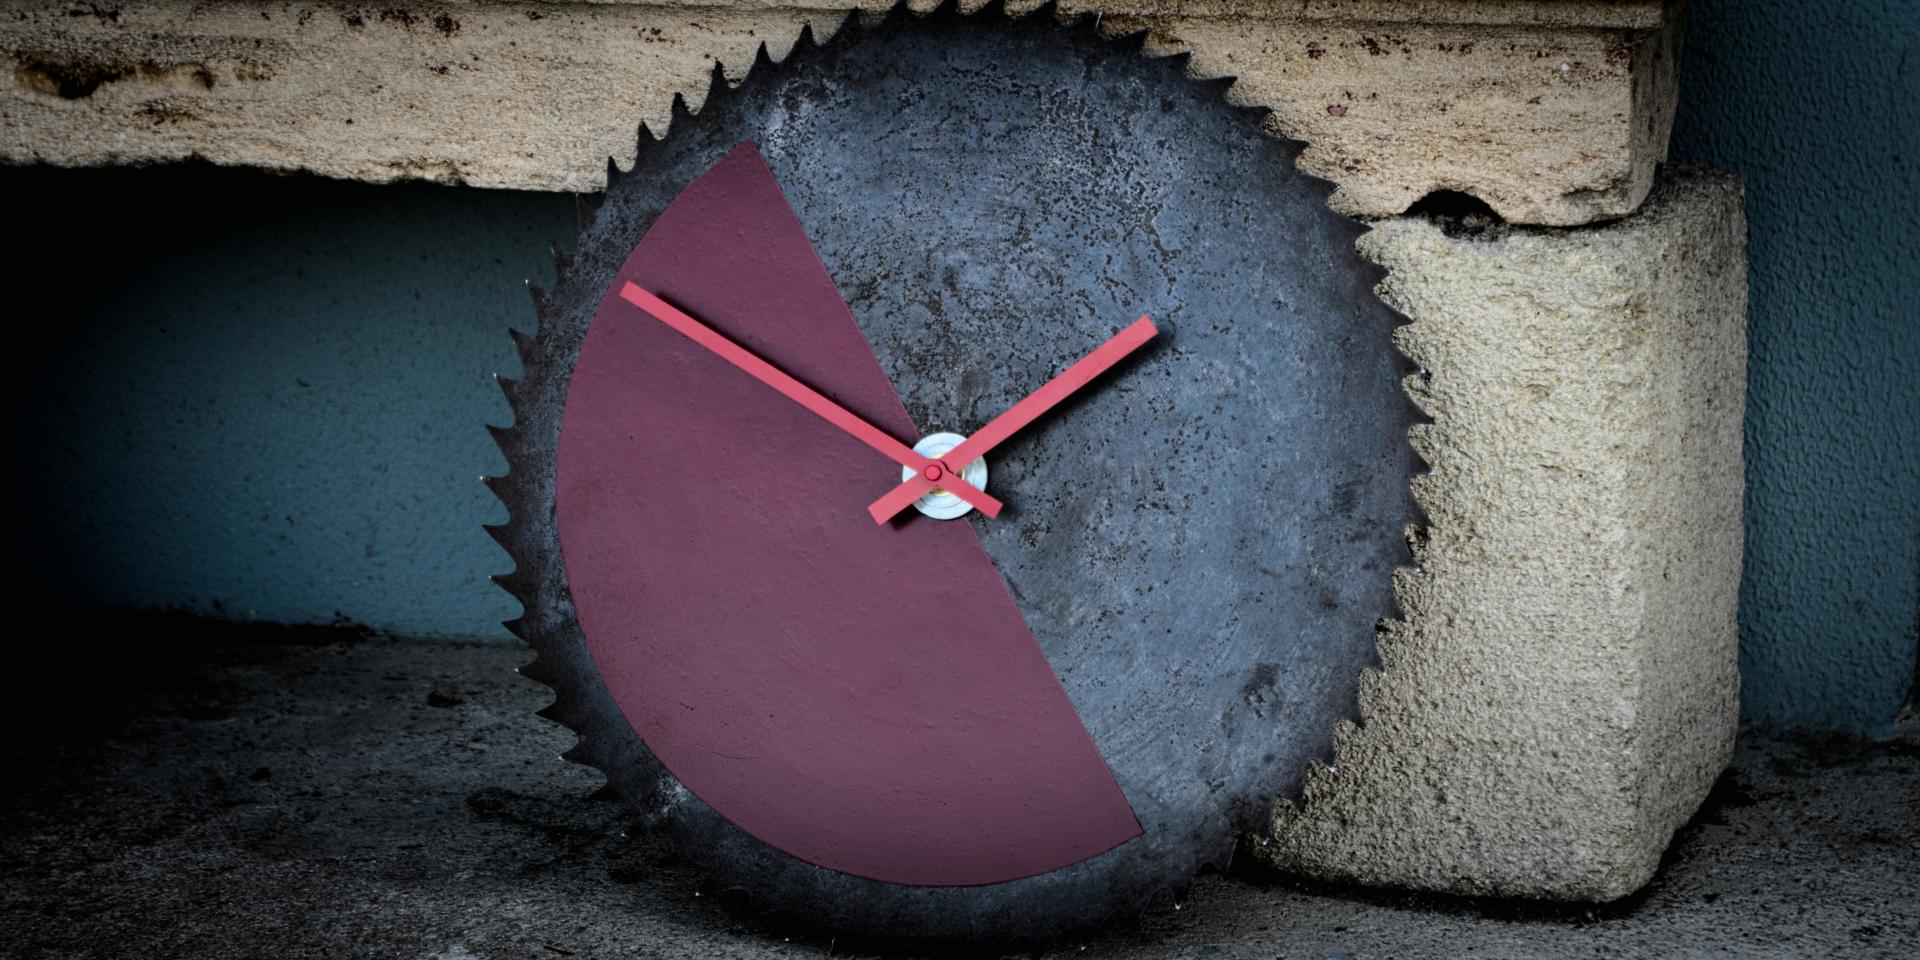
How to upgrade an old circular saw to add a vintage touch to your workshop?
Surface preparation:
Before proceeding to the paint stage, the circular saw must be clean to ensure better adhesion of the paint, thereby increasing the durability:
- clean with soapy water to degrease
- sand with 120 grit to remove rust stains
Creating a pattern:
I opted for a pattern in the shape of a semicircle. This simple and refined geometric shape brings a modern side that contrasts with the old style of the saw.
- tape the saw to make a stencil
- draw on the tape an arc of a circle with a compass
- cut with a cutter the adhesive tape following the path to obtain a beautiful semicircle
The area to be painted is small so I chose to use an old paint pot, a Basque red bought for another project.
 Paint tape
Mechanical clock kit:
- choose needles adapted to the size of the saw, the saw is 40cm in diameter, so I chose 170mm needles
- keyword to find this kit on internet “high torque clock movement long spindle 170mm”
- create a 3D printed locating pin. Its function is to center the saw relative to the axis of the kit.
 Mechanical clock kit
 Locating pin
To complete the installation of the clock, slightly tilt the pattern of the painted semicircle which will be the most beautiful effect!
